

|
|
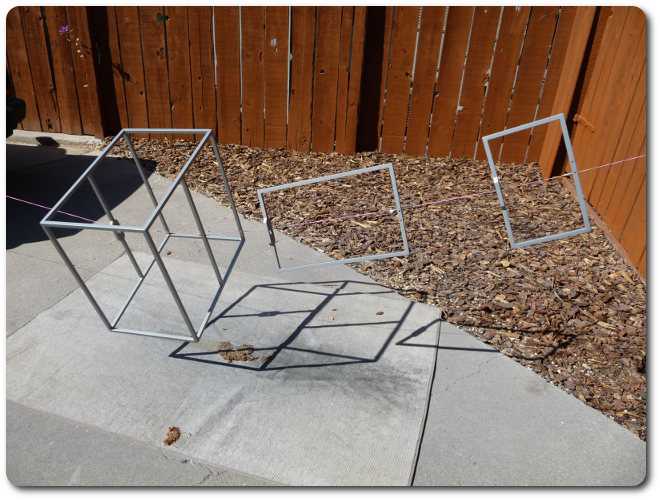
I was afraid I'd drive away and break the string.
|
|
|
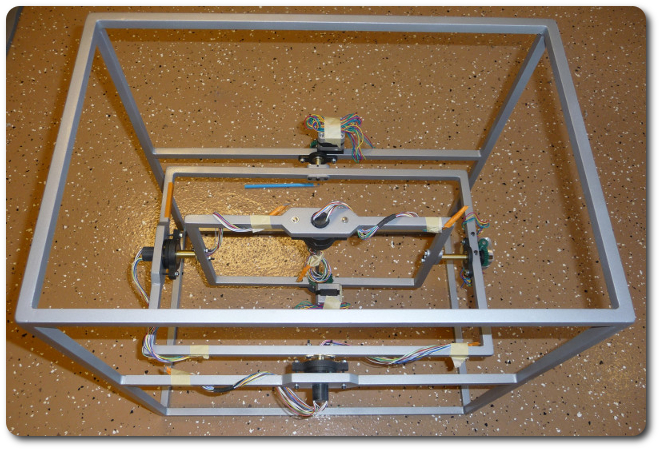
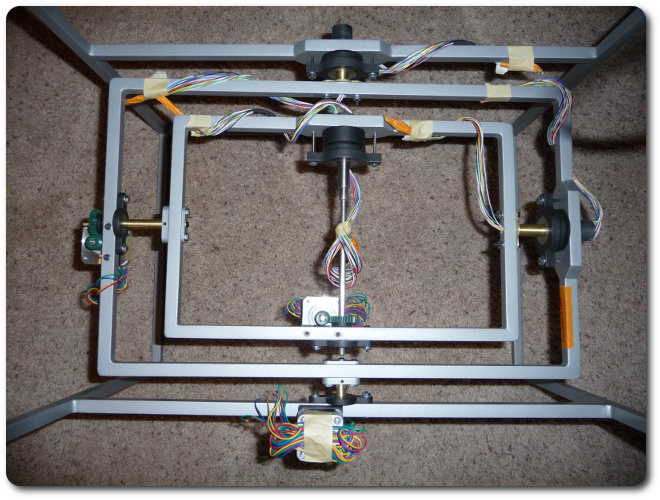
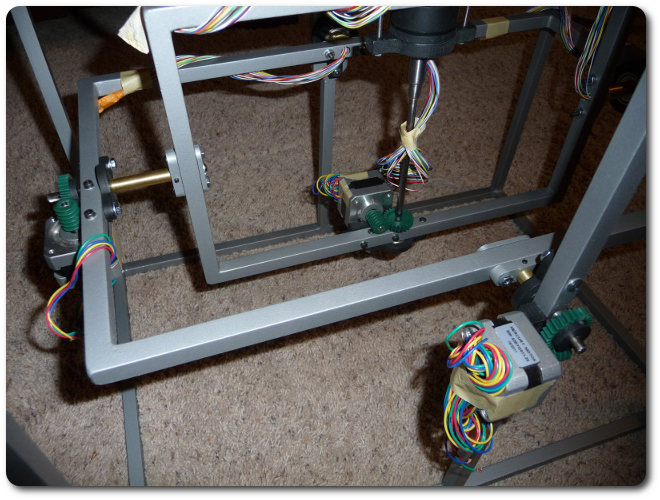
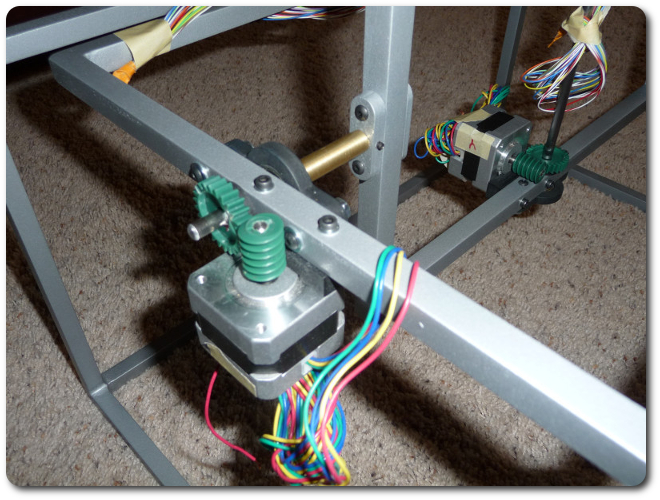
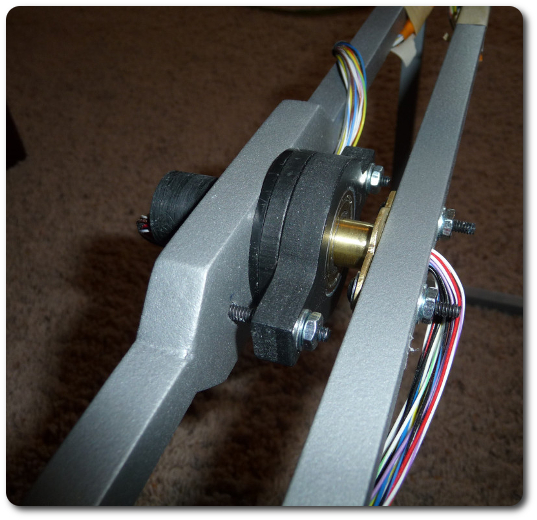
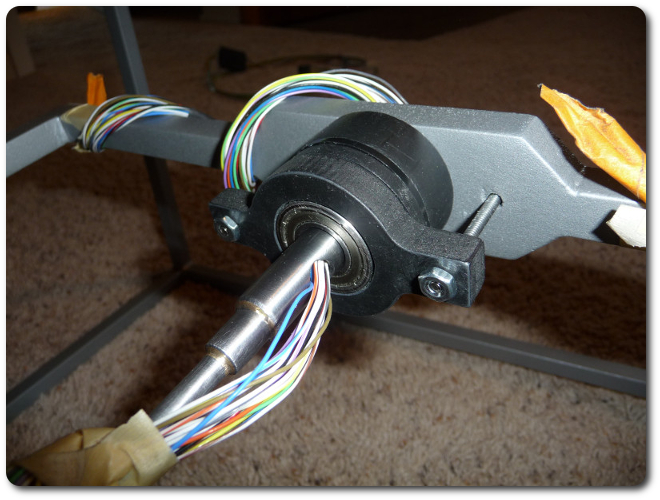
And finally, here are some highlights at the completion of this stage (Day 4). The UAV model comes next...
|
|
|
|
|
|
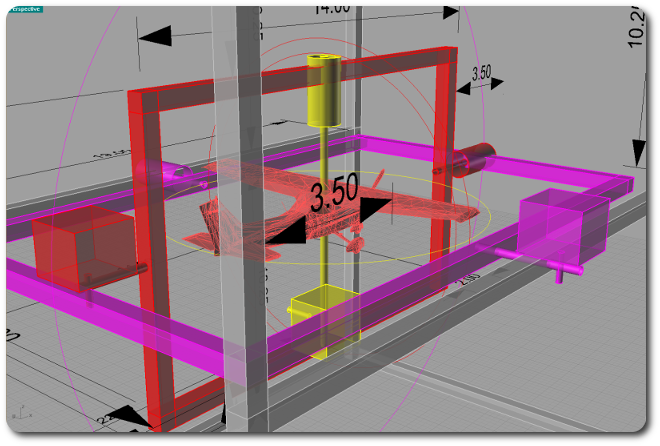
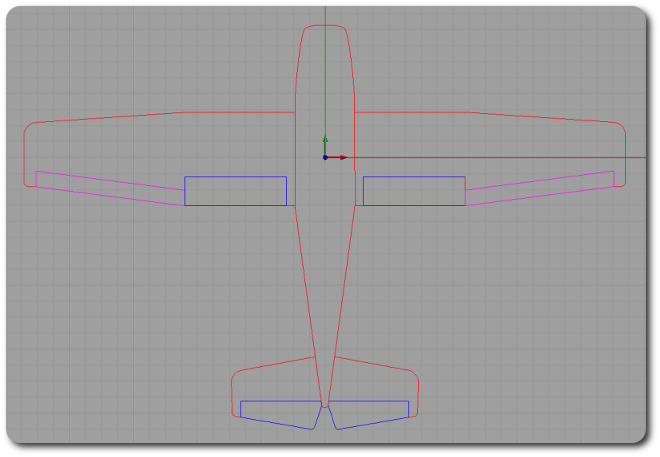
Compare this back to the original design (although the perspectives differ a little).
|
|
|
|
|
|
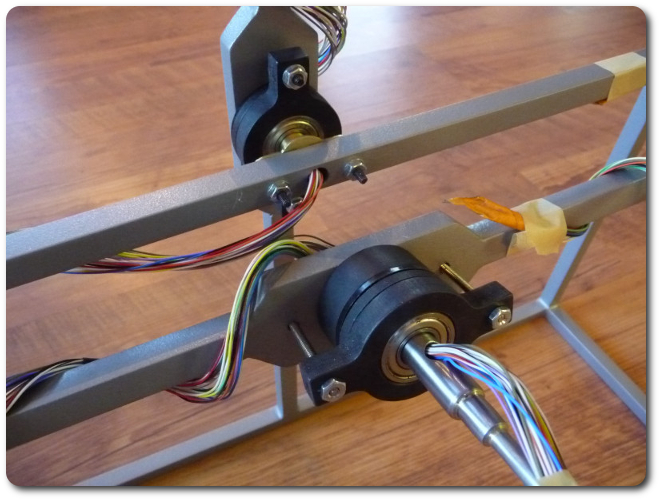
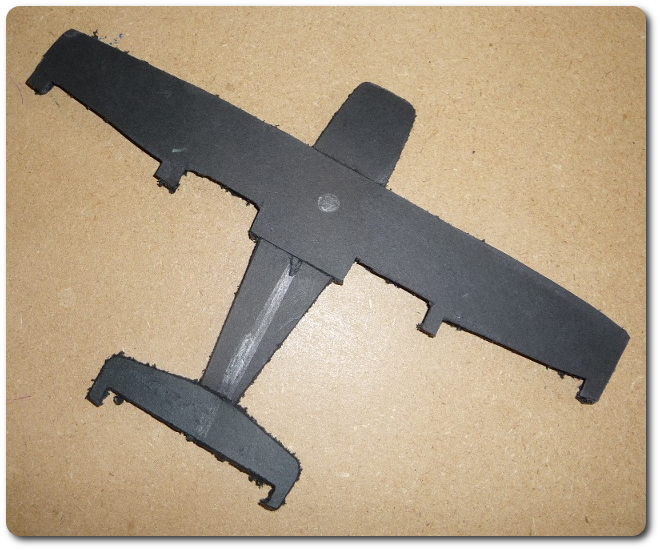
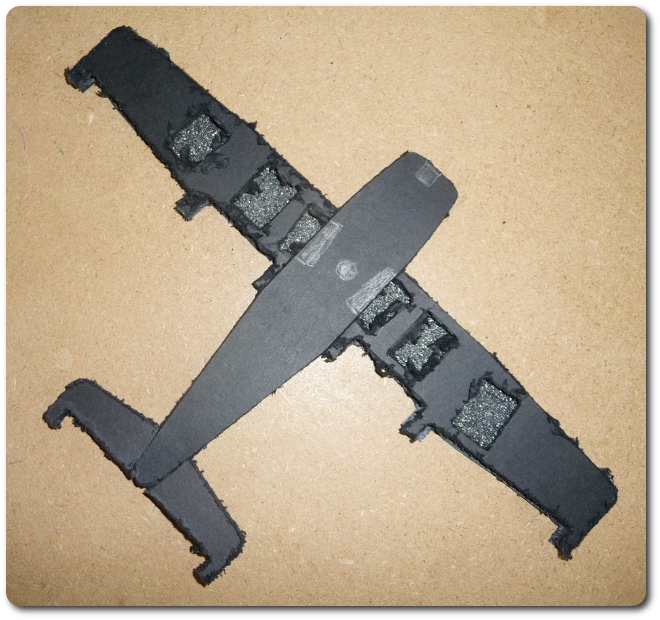
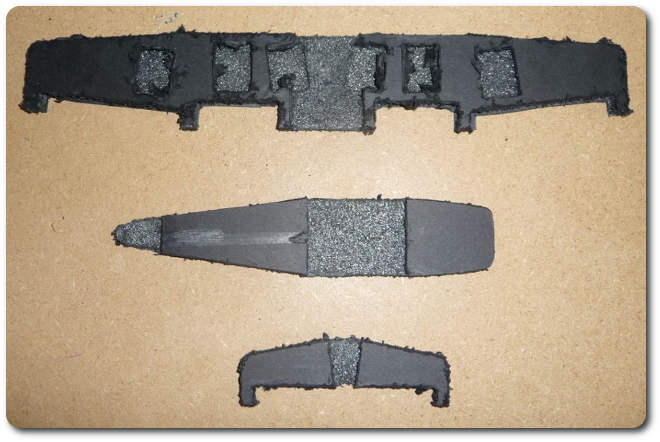
Here's where the physical UAV model starts. The gimbal assembly was designed around its prototype dimensions from the start, but until now, it only existed on paper. Thanks to Batman, now there's a mockup. My normal prototyping materials are still packed away in some box. This is cheap foam board, which doesn't mill cleanly. But for this stage, it's enough of a reality check.
|
|
|
|
|
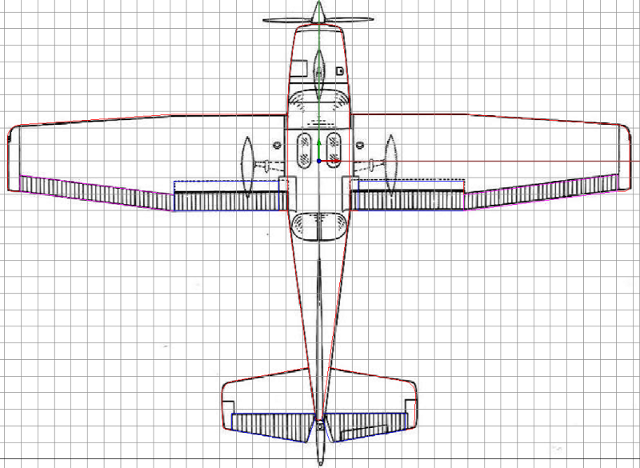
The planform is based on a Cessna 172. But since this is a prismatic part (a two-dimensional area projected ["extruded"] uniformly into the third dimension, which is normally referred to as 2 1/2D), I don't need to worry about many of the dimensions or other cosmetic aspects. After all, the point of the UAV model is to show an abstraction of the real thing; only the relevant aspects are strictly necessary. Someday perhaps I'll make a true 3D version, but that would be rather difficult given the size constraints of the gimbal assembly. As the pictures of the servos show on the next pages, there's not much room available.
|

|
|
The actual dimensions provide a nice reference point because this classic Cessna body style looks nice. In fact, it's repeated up the line in increasing size from the 152, 172, 182, 205/6/7, and 210, plus others.
|
|
|


|