

|
|
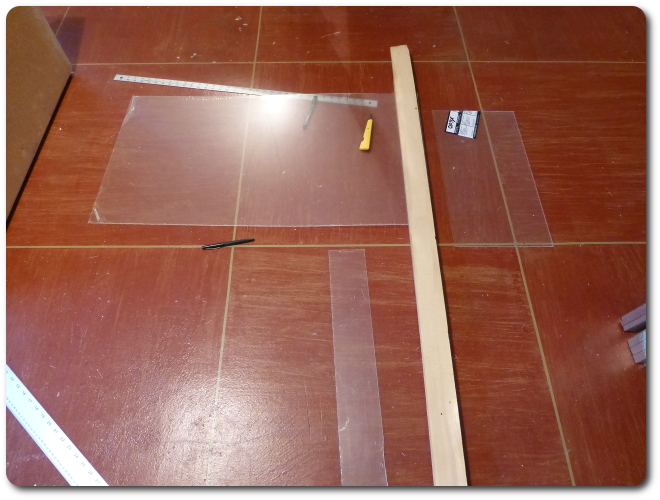
Next up are the sliders, lots of them. I made a jig out of plexiglass.
|
|
|
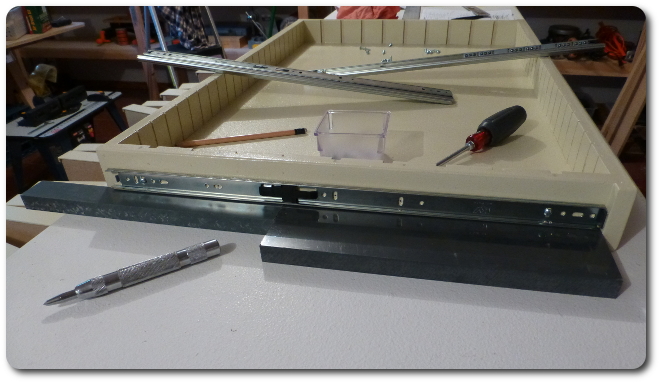
It set up each slider with the same holes.
|
|
|
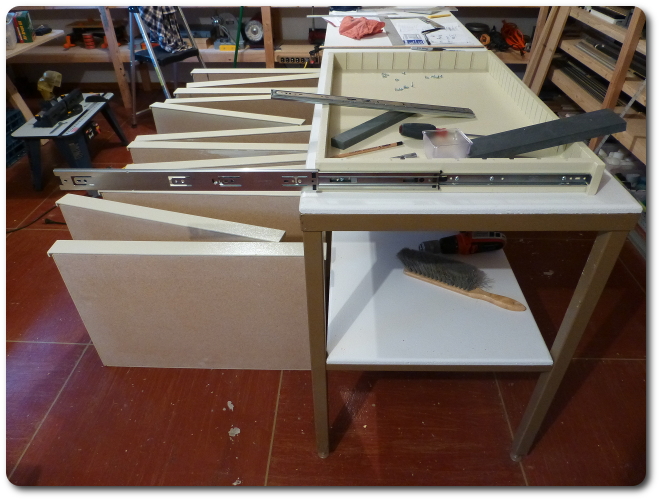
This is how they slide out. Each drawer is design to support at least 100 pounds.
|
|
|
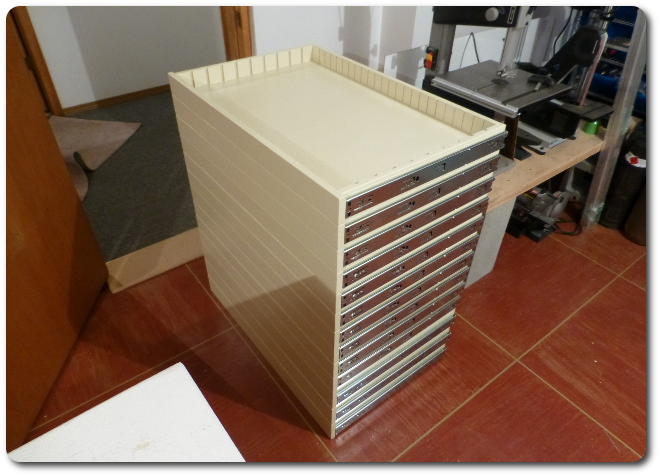
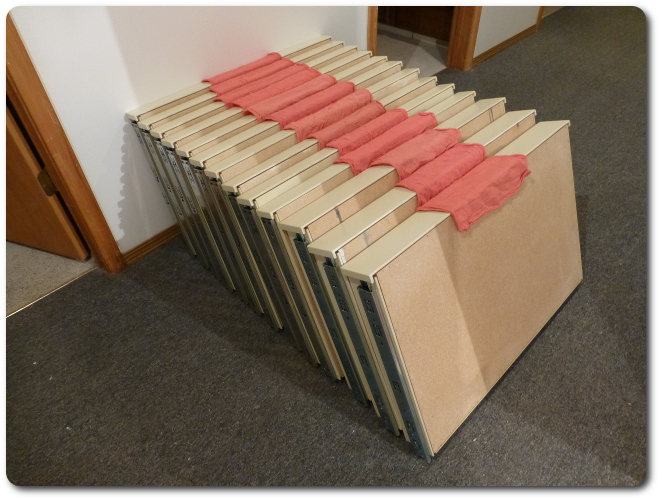
13 drawers times two sides times lots of screws equals a lot of effort.
|
|
|
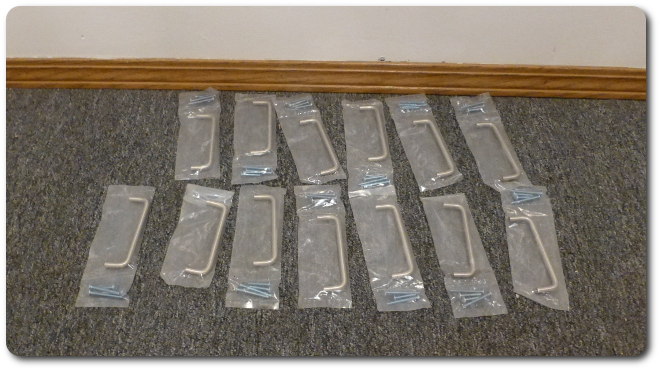
It's time for the handles.
|
|
|
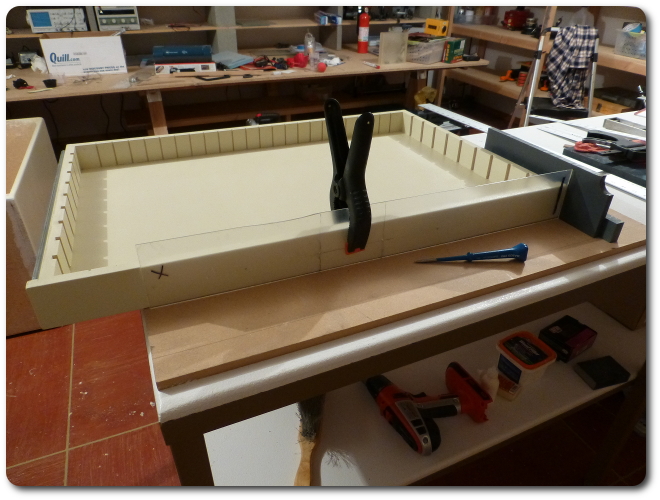
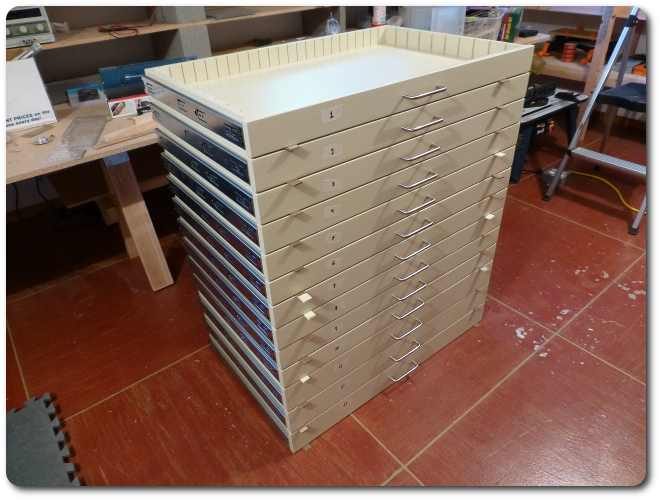
These need to be aligned precisely because any deviation would be obvious with 13 in a row.
|
|
|
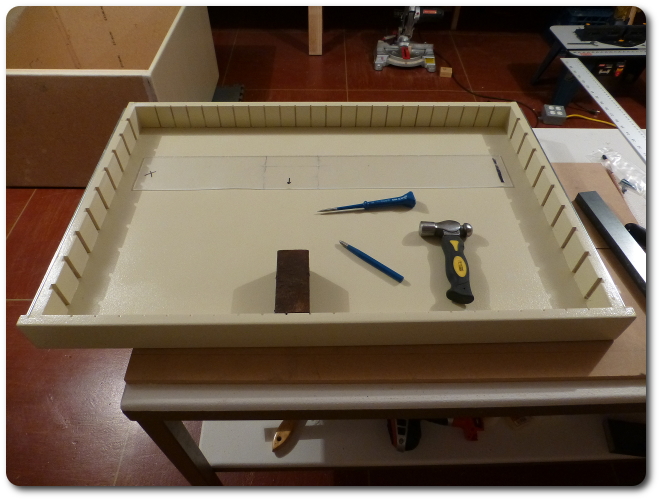
So I made another jig.
|
|
|
|
And that turned out great.
|
|
|
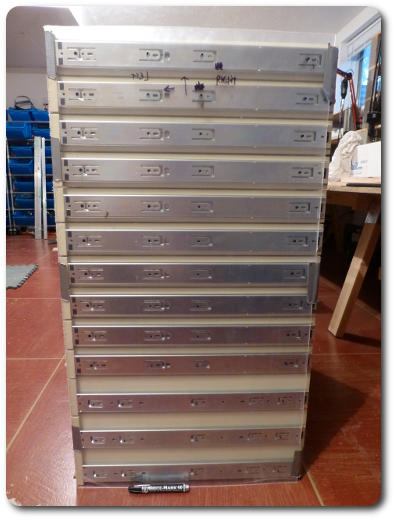
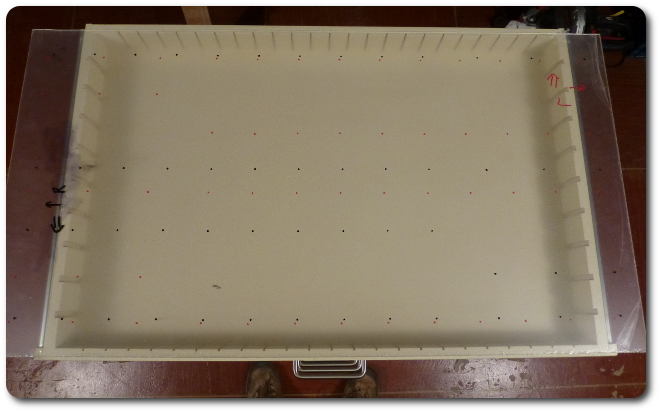
Now it's time to make a huge jig for the holes that hold the sliders in the cabinet.
|
|
|
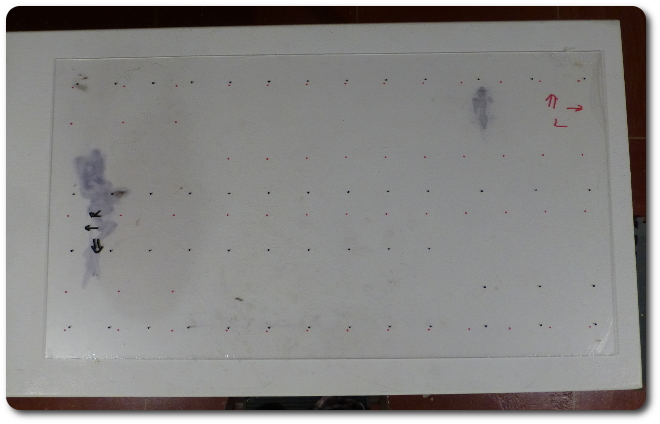
Every alignment point was indicated with a marker, one color for each side.
|
|
|
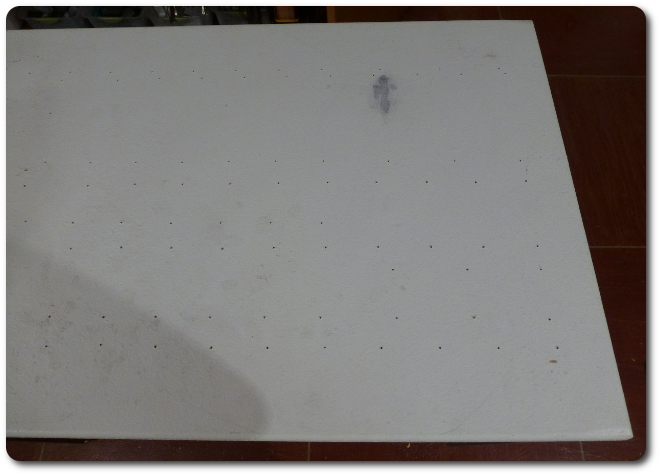
Then I drilled a guide hole for each.
|
|
|
A great thing about this bench is that its surface is sacrificial. When this was over, I used wood filler for the holes and dumped another coat of primer on it — as good as new.
|
|
|
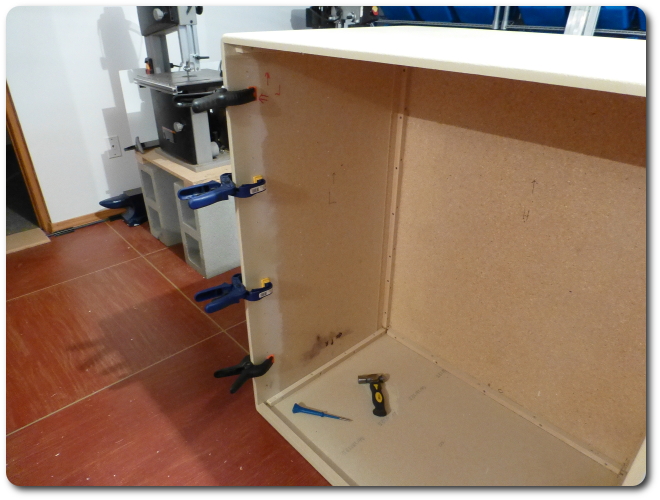
Here's transfering the pattern to the walls of the cabinet by striking a sharp punch through each hole in the jig.
|
|
|
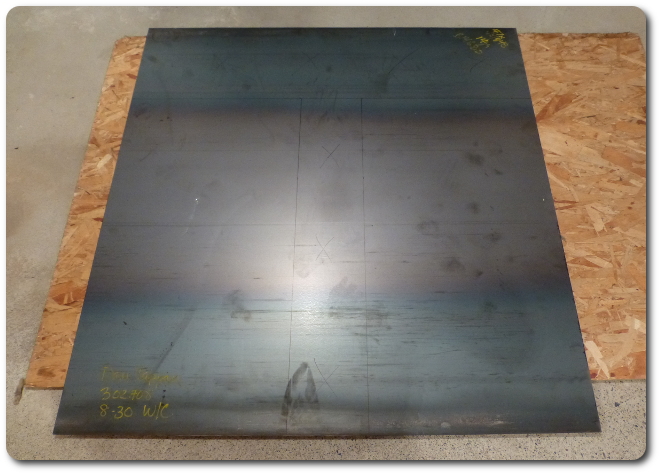
This part wasn't in the plan. I didn't know exactly how much room to allocate for the width of the sliders, so I added a little extra. Having too much room is far better than too little. The sliders have some freedom to expand, but not the 1/7" total that was left over. I had to find something to shim each side, but this is such an off size. Ultimately I settled on 14-gauge cold-rolled steel. This was way overkill (and very heavy), but it worked perfectly in the end, after quite a bit of extra effort.
|
|


|