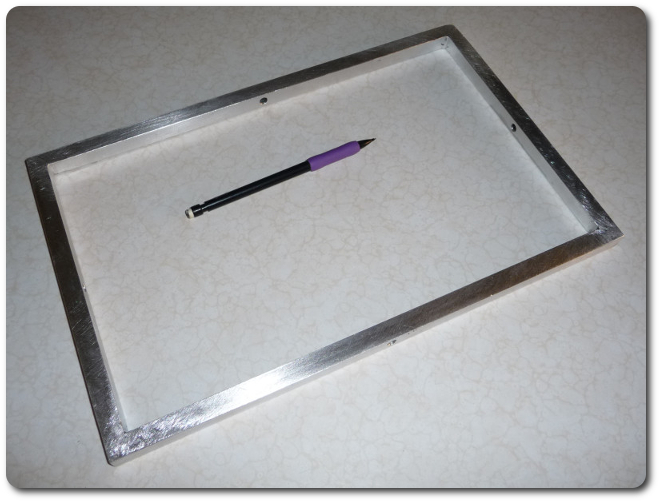
Three-Axis Electromechanical Flight-Simulation Gimbal
|
|
|
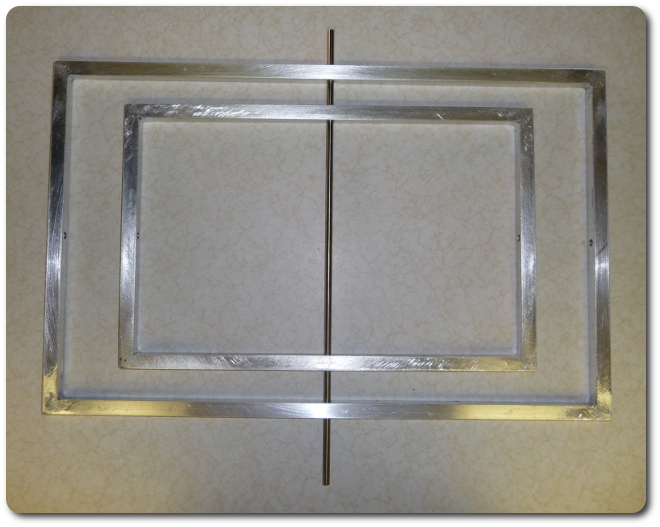
On the other hand, fitting the parts is quite low-tech.
|
|
|
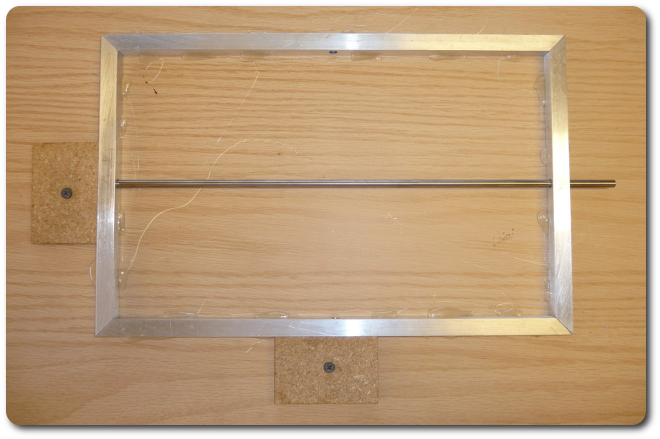
In fact, the jig is nothing more than two fixed reference points and a lot of hot glue.
|
|
|
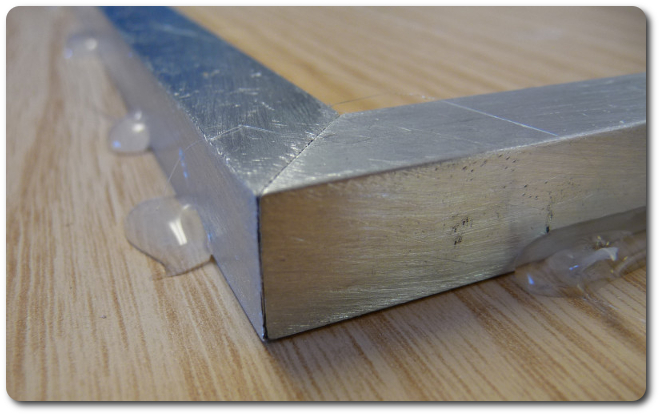
A close-up of a joint shows the precision. This could be better, of course, but for welding, this is all I need.
|
|
|
Here's a little video of the MIG welding with 100% argon using the welder adapter for aluminum welding with the spool gun. (And in case you're wondering, I had shaved my head over the summer.)
|
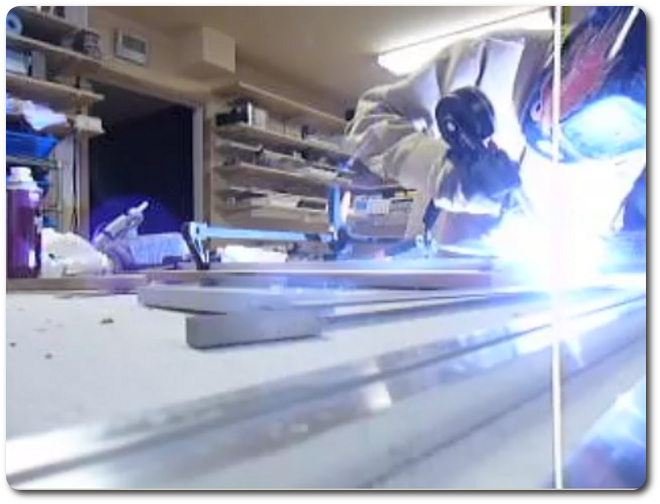
(video 13 MB)
|
|
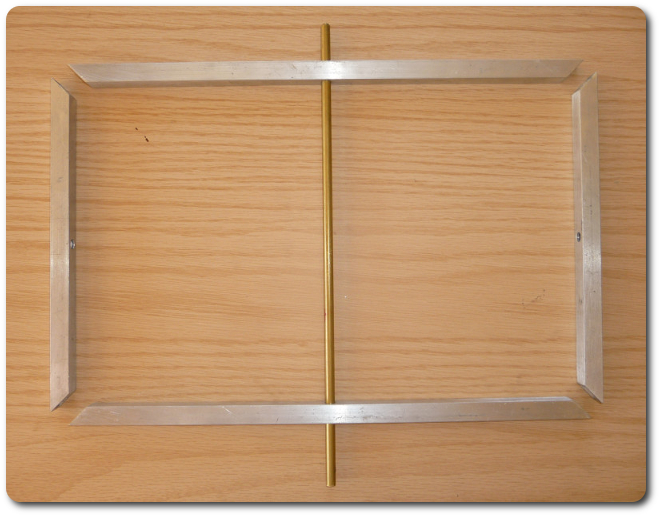
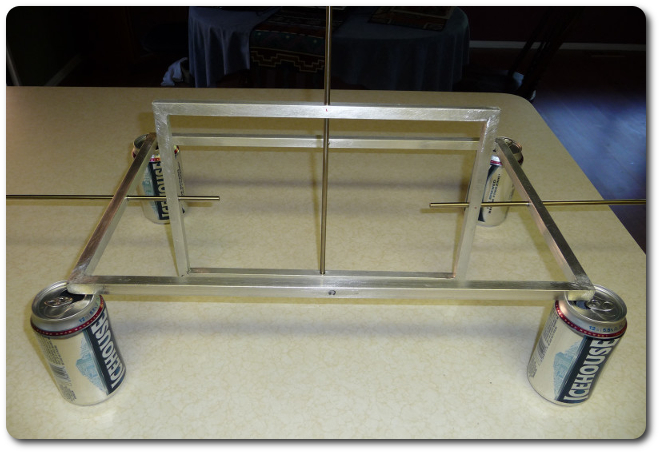
The important part is that the corners are square, and that overall the frame is in alignment. MIG welding doesn't cause much thermal stress, so distortion isn't an issue. Otherwise, hot glue wouldn't be an adequate clamp.
|
|
|
|
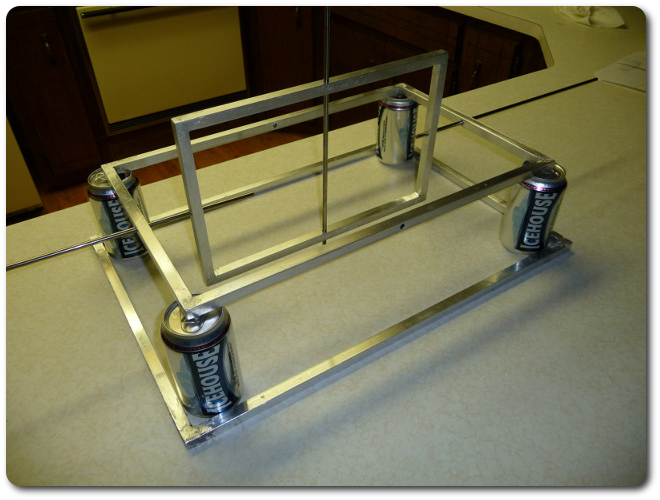
It took only a quick evening to get this far. And no, I'm not a particular fan of Icehouse beer. But it made a nice test stand.
|
|
|
|
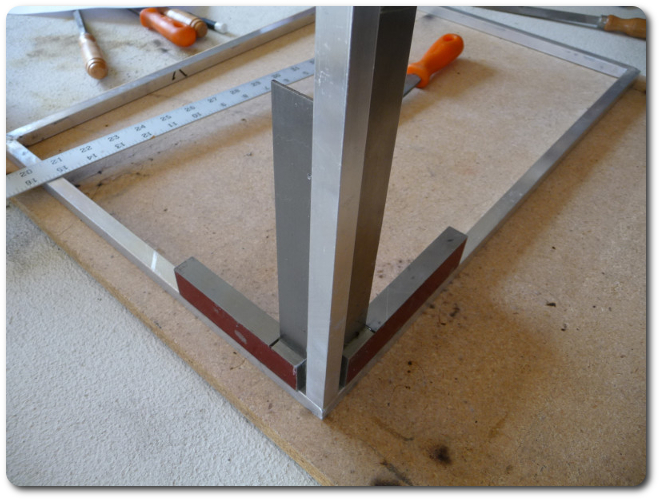
Now it's time for the uprights. Here's where it gets tricky because there's no jig to hold the parts in place. I have to align the parts and carefully tack-weld them in place without disturbing the parts still be to tacked. I had dyed these squares red to indicate that they're my working squares (meaning I don't need to treat them with much respect). In this case, I actually hot-glued the uprights to the squares.
|
|
|
But with careful attention to detail in three dimensions, everything aligns to much better than a millimeter. This is good because there's no adjustment possible now except by cutting something apart and rewelding it.
|
|
|
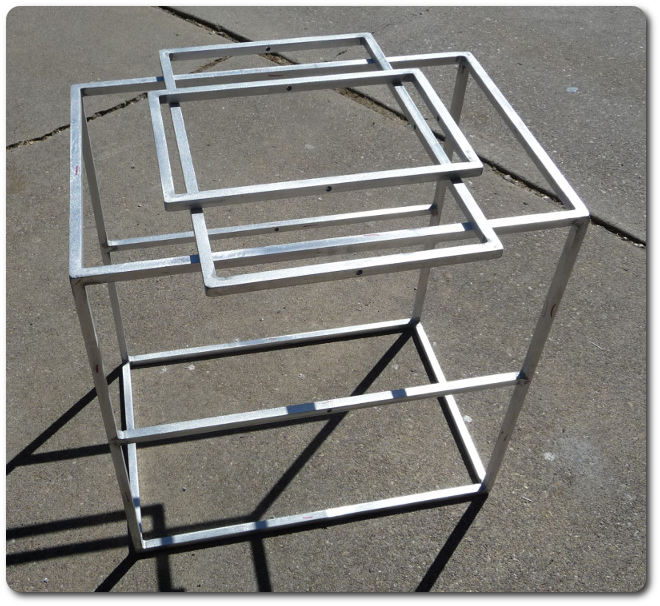
At this stage, Icehouse beer isn't necessary anymore to hold the parts together. This is Day 2 of the project.
|
|
|
I've had projects go up in flames, but this is the first time I've had plans do so. MIG welding, even shielded with 100% argon, does spatter enough to ignite nearby flammables. In a number of pictures, you'll see tins of flammable liquids, which is a big no-no. Needless to say, I had a few other "thermal excursions" to deal with over the course of this project.
|
|
|
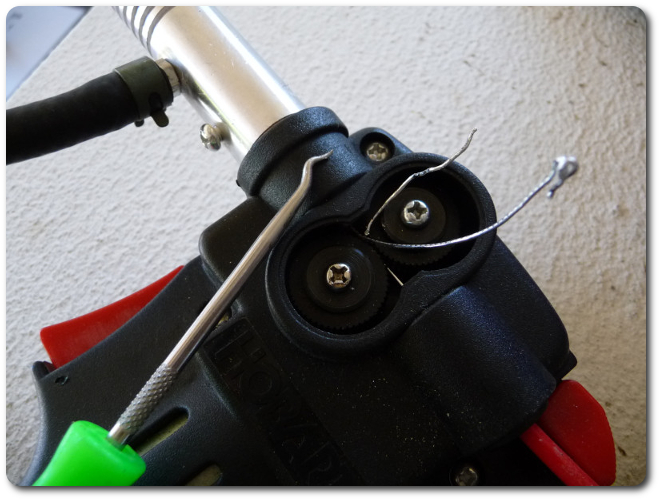
Another thing I had to deal with is welding aluminum. It's such a soft material, and the filler wire can jam easily. This "bird's nest" gums up the entire spool-gun mechanism and is a nuisance to rectify. This is also 1/2" 0.065" square tubing. If you look at it wrong, you blow a hole right through it. MIG welding aluminum takes skill. (I prefer to do TIG, but that welder wasn't here at the time.) In my case, more so it takes a lot of post-weld grinding to clean up the mess.
|
|
|
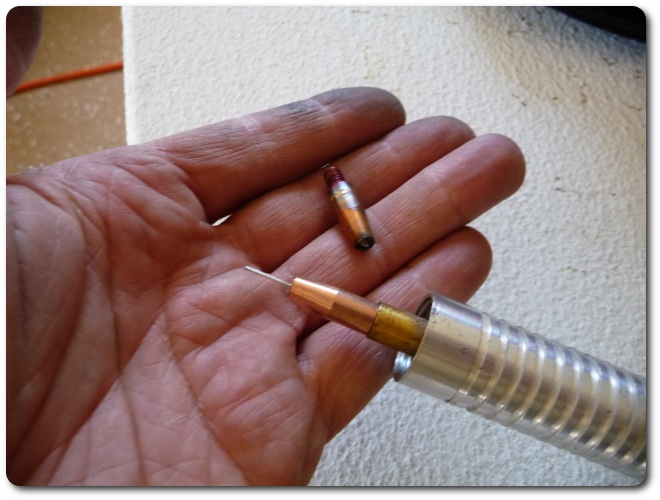
When the filler wire backs up, it often fuses the welding tip shut. I have a bag of these on hand.
|
|
|
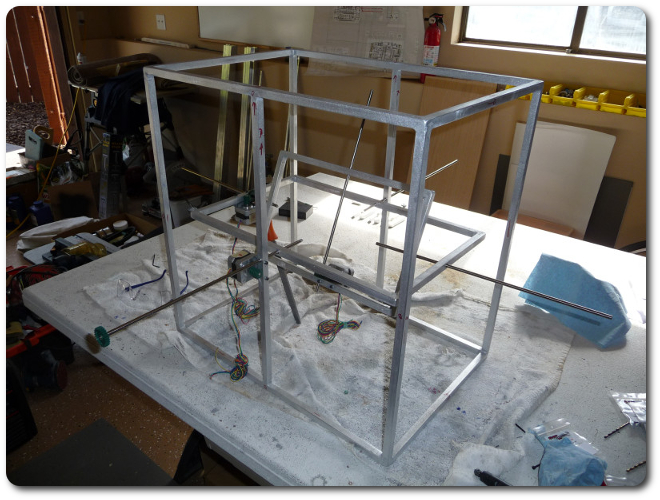
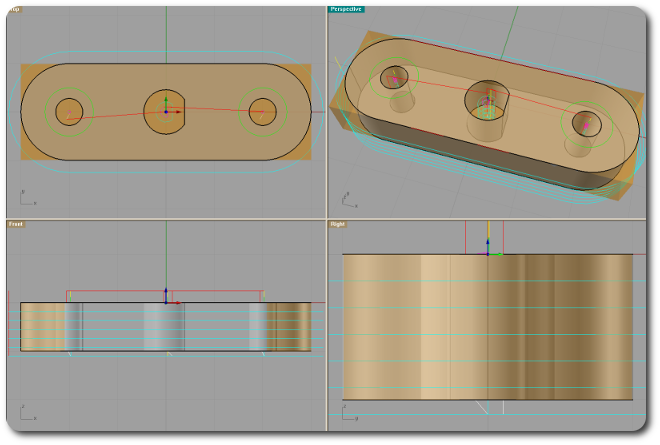
With the primary frame components done, it's time to work on the secondary connectors. These are shaft mounts. The thin-wall tubing can't secure the axis shafts directly, so the shafts mount to these, and these mount to the tubing.
|
|
|
|
© 2026 Dan Tappan and Eastern Washington University
— last updated 27 May 2026 11:43