Mechatronic Violin-Bow Testbed
|
|
|
|
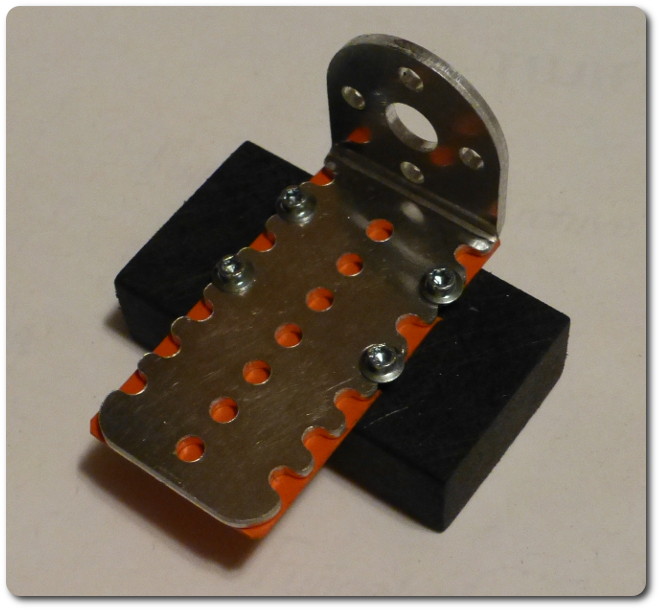
It all came together like this.
|
|
|
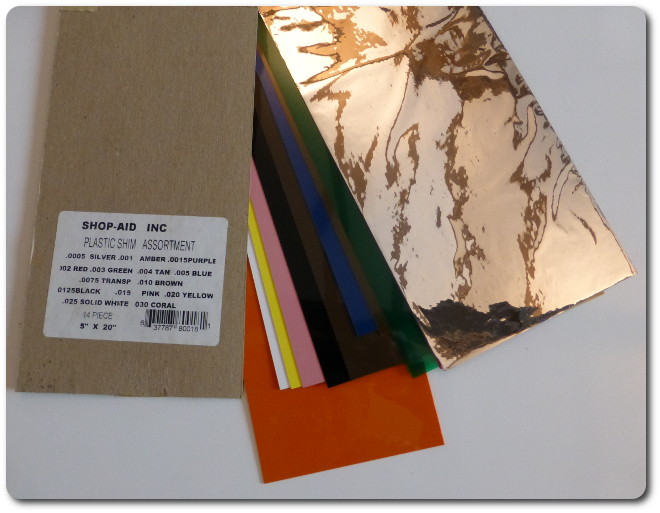
Having tons of "what-if" materials like this makes on-the-fly design so much easier. This plastic shim stock ranges from thick to ultra thin.
|
|
|
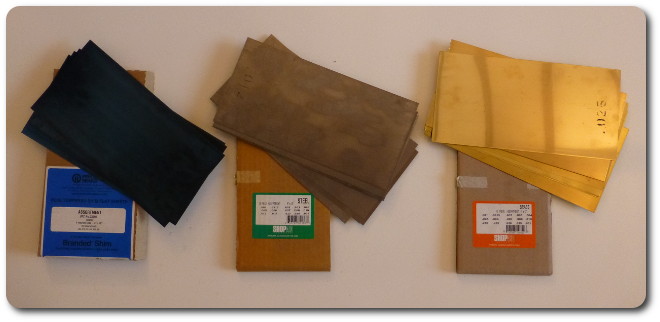
Not used here, but in similar vein, here's the same with metal: blue spring steel, mild steel, and brass shim stock.
|
|
|
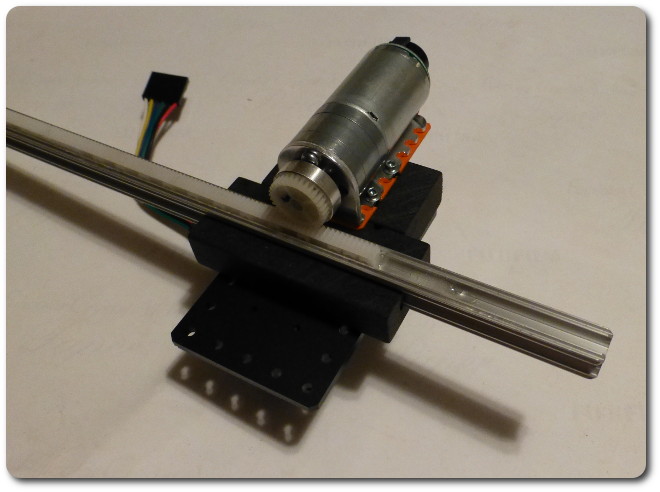
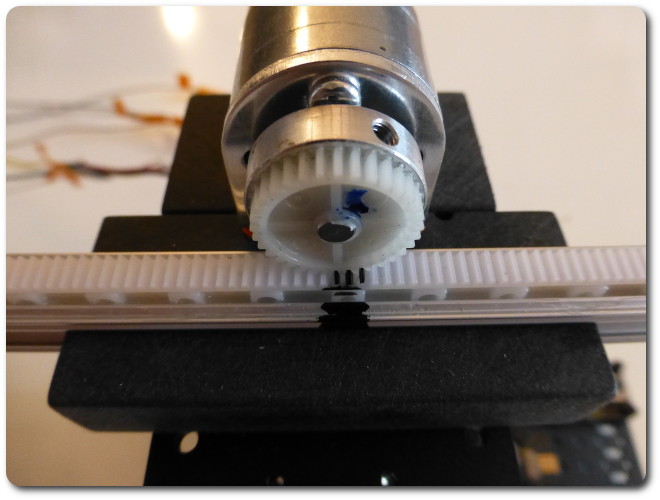
Here's the drive mechanism all aligned.
|
|
|
|
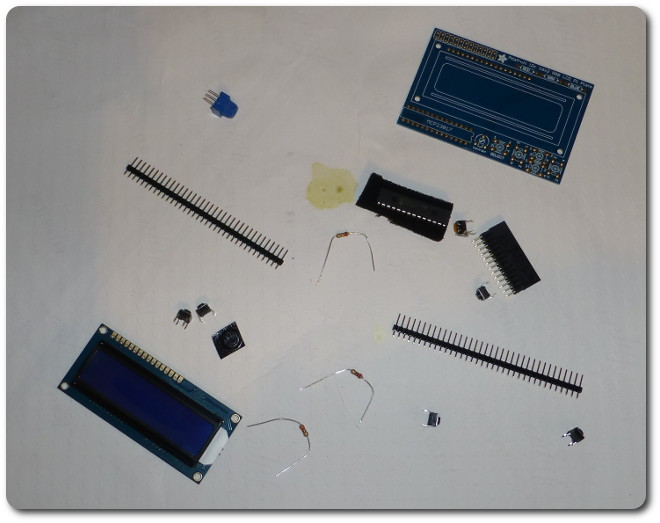
Next up was an LCD display to help debug and calibrate the system. This is an I2C display with nice features, none of which I actually needed except the I2C interface.
|
|
|
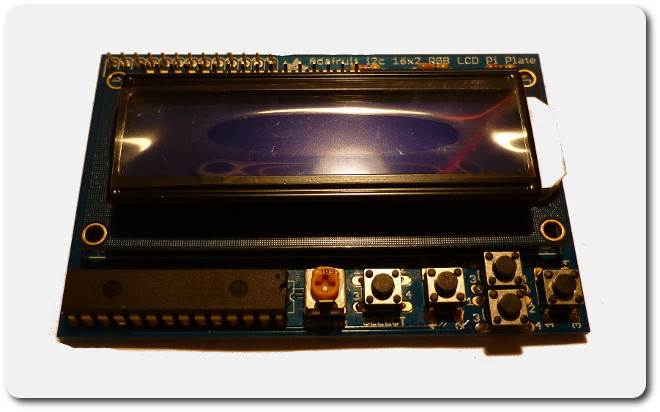
All assembled, which was trivial.
|
|
|
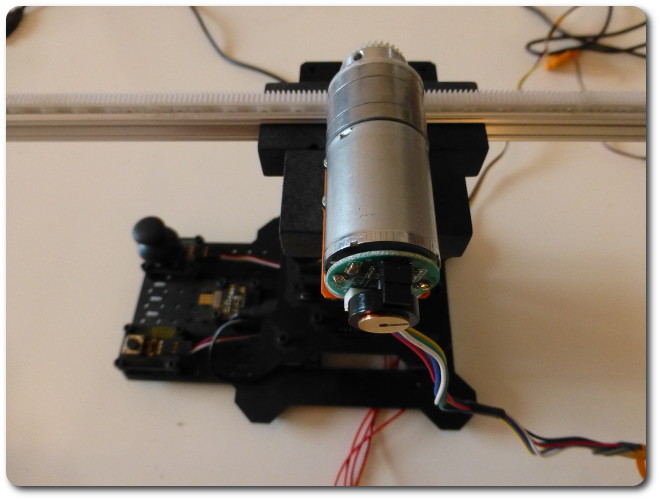
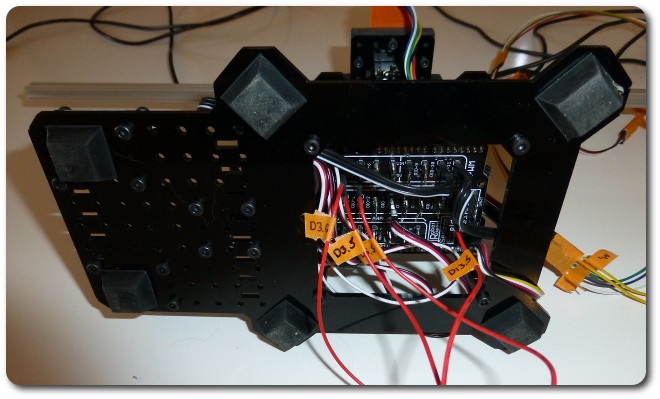
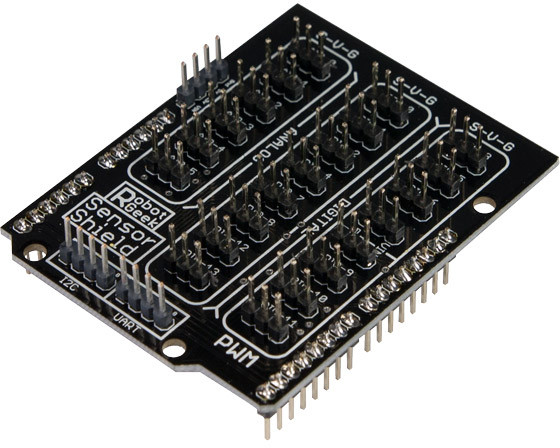
The RoboTurret provides its own Arduino board with a breakout board for lots of multimodal input and output.
|
|
|
|
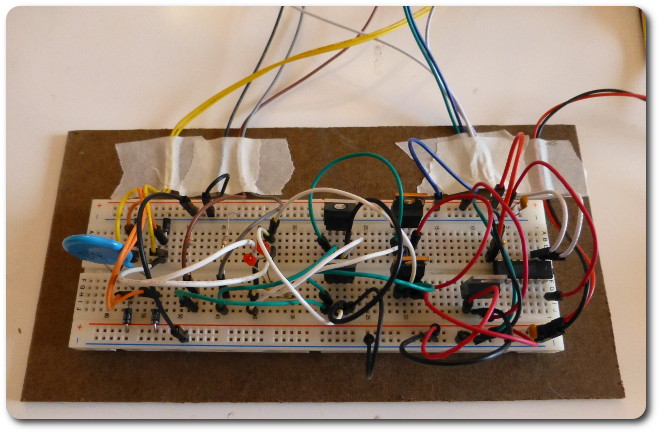
All of this communicates with the board I prototyped, which by this point was more than a simple H-bridge.
|
|
|
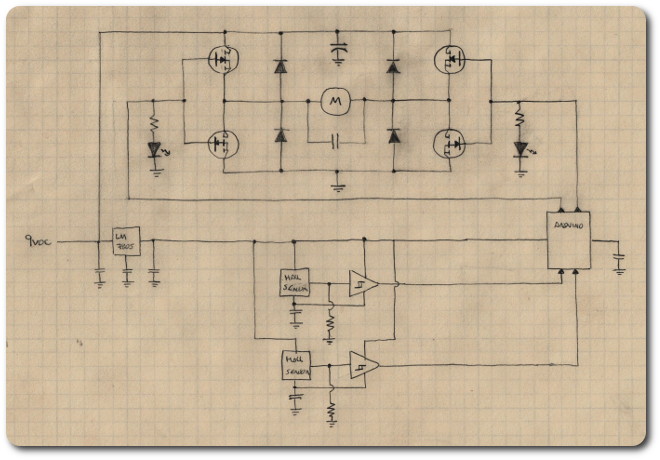
The schematic for this circuit is basically this. It doesn't include anything related to the servo mechanisms, which are on the turret itself.
|
|
|
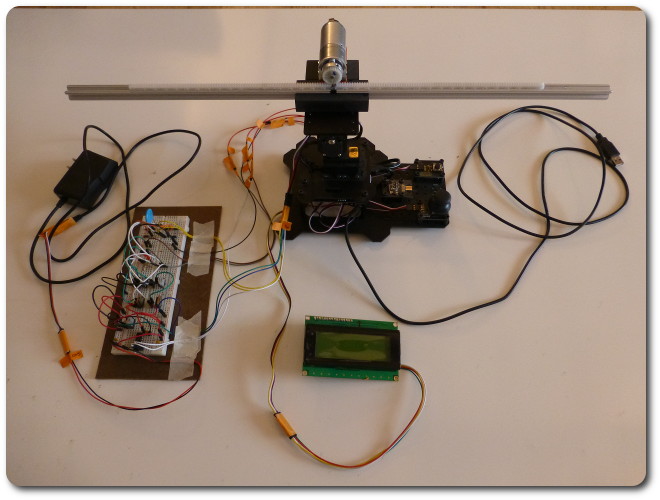
The whole setup looks like this (including a different LCD display from the one above). It connects to a laptop with an Arduino development environment to program tests. The sketch framework I provided is simple, just enough to exercise the options on the controller and rig. My student will provide his own tests.
|
|
|
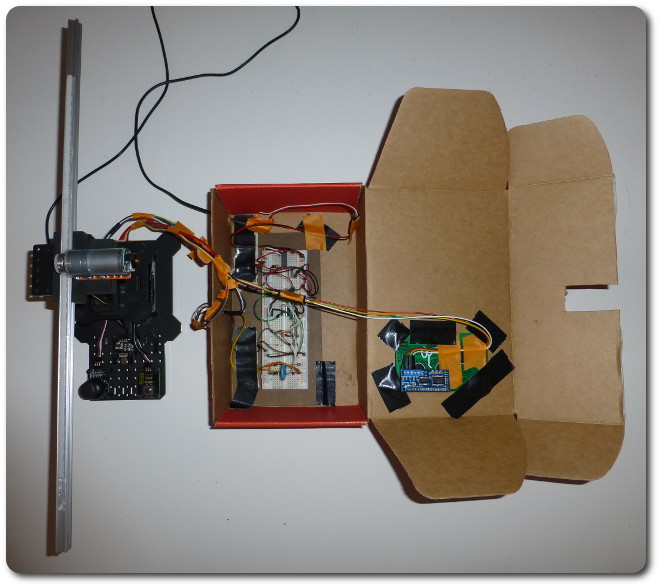
But I couldn't hand it off to my student in this form, so the final packaging is in this elegant cardboard box that some of the parts came in.
|
|

|
|
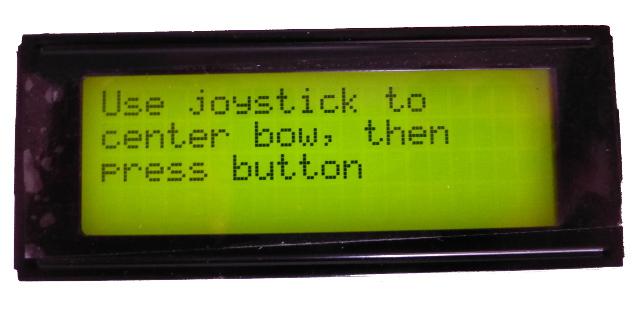
The self-test and setup are really straightforward: use the joystick to center the rail. For transport, the rail easily comes off. My motor controller uses open-loop logic, so it doesn't know in absolute terms where the bow is, only in relative terms how far it has moved from its initial known position. It's important to set this position reasonably well.
|
|
|
|
© 2026 Dan Tappan and Eastern Washington University
— last updated 27 May 2026 11:43